# Userspace Issues
Issues regarding once you've booted the installer and the GUI has loaded.
- macOS installer in Russian
- macOS Installer being damaged
- Stuck on or near IOConsoleUsers: gIOScreenLock.../gIOLockState (3...
- Scrambled Screen on laptops
- Black screen after IOConsoleUsers: gIOScreenLock... on laptops and AIOs
- Black screen after IOConsoleUsers: gIOScreenLock... on Navi
- Frozen in the macOS installer after 30 seconds
- 15h/16h CPU reboot after Data & Privacy screen
- macOS frozen right before login
- MediaKit reports not enough space
- DiskUtility failing to erase
- SATA Drives Not Shown in DiskUtility
- Stuck at 2 minutes remaining
- The recovery server cannot get contacted
- Keyboard and Mouse broken in Big Sur
- Stuck on Your Mac needs a firmware update in order to install to this volume
# macOS installer in Russian
Default sample config is in Russian because slavs rule the Hackintosh world, check your prev-lang:kbd value under NVRAM -> Add -> 7C436110-AB2A-4BBB-A880-FE41995C9F82. Set to 656e2d55533a30 for American: en-US:0 and a full list can be found in AppleKeyboardLayouts.txt (opens new window). For those using with a simple text editor(ie. UEFI Shell, Notepad++, etc), 656e2d55533a30 will become ZW4tVVM6MA==
You may also need to reset NVRAM in the boot picker as well
- Note: Thinkpad laptops are known to be semi-bricked after an NVRAM reset in OpenCore, we recommend resetting NVRAM by updating the BIOS on these machines.
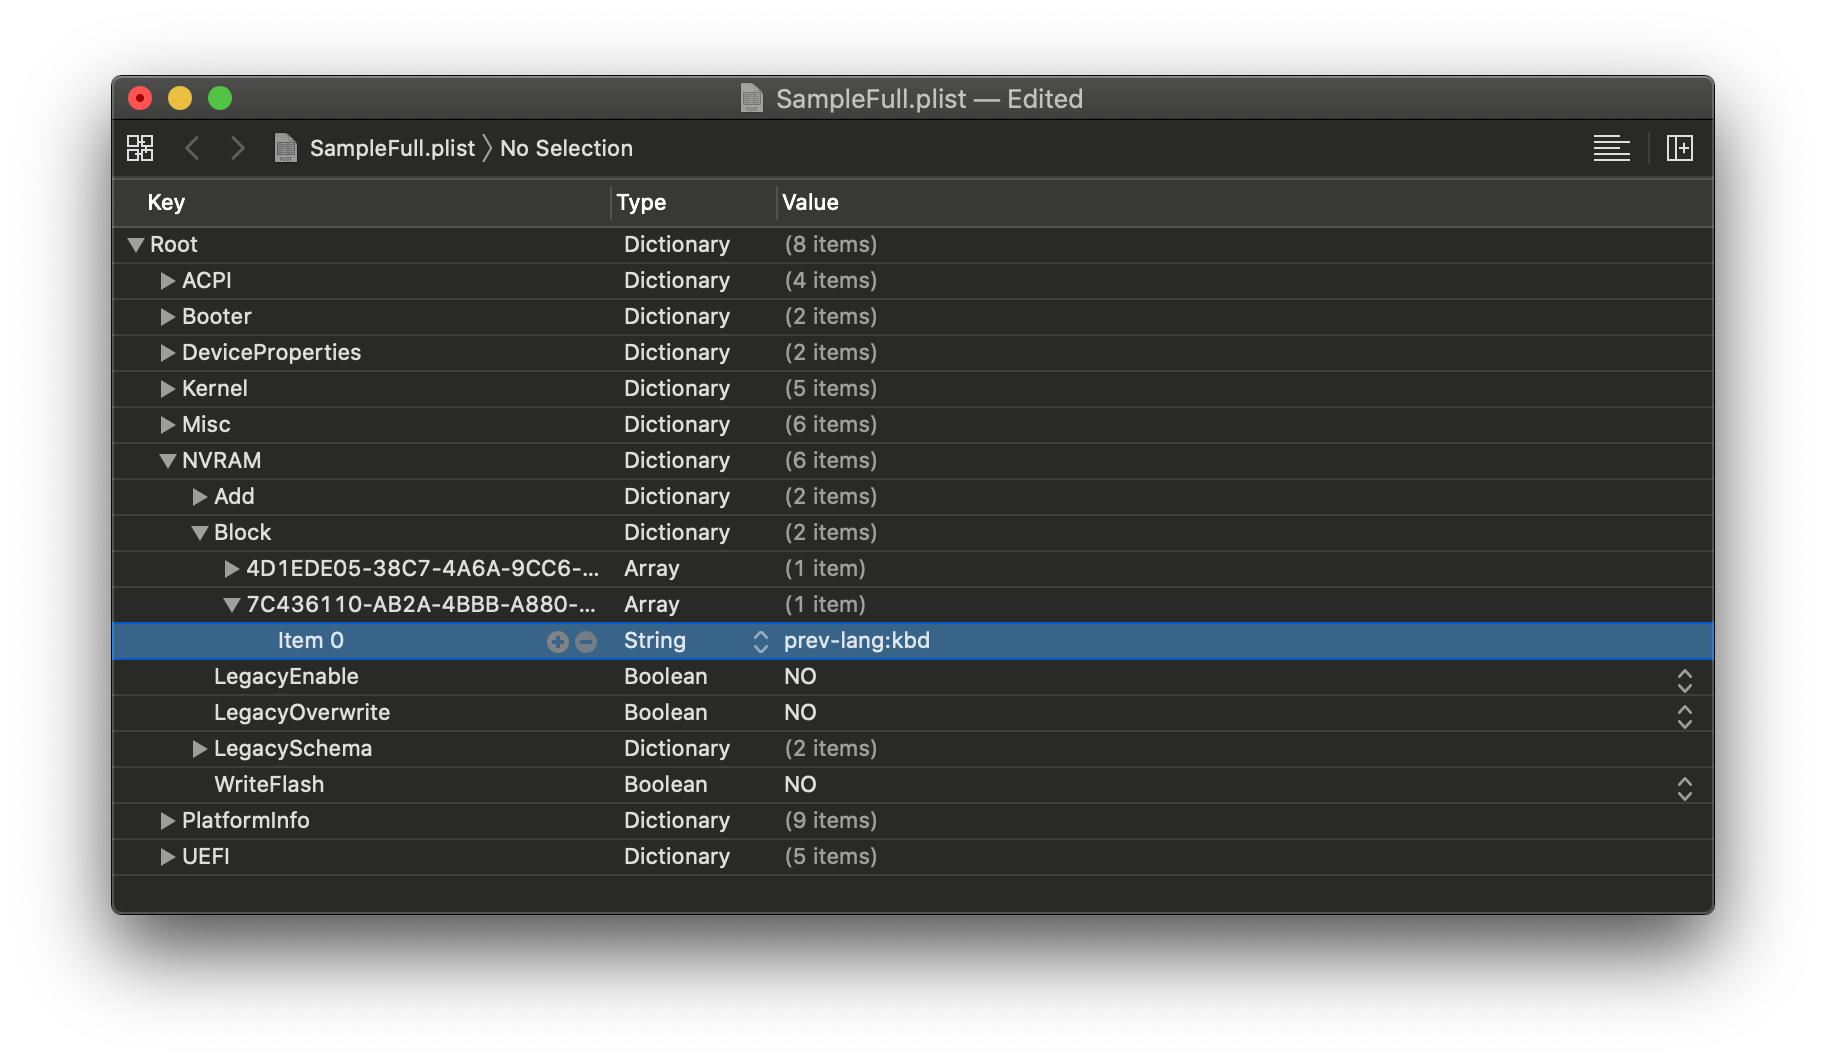
Still didn't work? Well time for the big guns. We'll force remove that exact property and let OpenCore rebuild it:
NVRAM -> Delete -> 7C436110-AB2A-4BBB-A880-FE41995C9F82 -> Item 0 then set it Type String and Value prev-lang:kbd
# macOS Installer being damaged
If you've download macOS before October 2019, you likely have an expired macOS Installer certificate, there's 2 ways to fix this:
- Download newest copy of macOS
- Change date in terminal to when the certificate was valid
For the latter:
- Disconnect all networking devices(Ethernet, disable WiFi)
- In the recovery terminal set to September 1st, 2019:
date 0901000019
# Stuck on or near IOConsoleUsers: gIOScreenLock.../gIOLockState (3...
This is right before the GPU is properly initialized, verify the following:
- GPU is UEFI capable(GTX 7XX/2013+)
- CSM is off in the BIOS
- Forcing PCIe 3.0 link speed
- Double check that ig-platform-id and device-id are valid if running an iGPU.
- Desktop UHD 630's may need to use
00009B3Einstead
- Desktop UHD 630's may need to use
- Trying various WhateverGreen Fixes (opens new window)
-igfxmlrboot argument. This can also manifest as a "Divide by Zero" error.
- Coffee Lake iGPU users may also need
igfxonln=1in 10.15.4 and newer
# Scrambled Screen on laptops
Enable CSM in your UEFI settings. This may appear as "Boot legacy ROMs" or other legacy setting.
# Black screen after IOConsoleUsers: gIOScreenLock... on laptops and AIOs
Verify the following:
- SSDT-PNLF is installed(ie. EFI/OC/ACPI as well as config.plist -> ACPI -> Add)
- iGPU properties were setup correctly under
DeviceProperties -> Add -> PciRoot(0x0)/Pci(0x2,0x0) - Coffee Lake and newer laptops, add
-igfxblrto your boot-args- Alternatively, add
enable-backlight-registers-fix | Data | 01000000toPciRoot(0x0)/Pci(0x2,0x0)
- Alternatively, add
Additionally, verify issues mentioned in Stuck on or near IOConsoleUsers: gIOScreenLock...
# Black screen after IOConsoleUsers: gIOScreenLock... on Navi
- Add
agdpmod=pikerato boot args - Switch between different display outputs
- Try running MacPro7,1 SMBIOS with the boot-arg
agdpmod=ignore
For MSI Navi users, you'll need to apply the patch mentioned here: Installer not working with 5700XT #901 (opens new window)
Specifically, add the following entry under Kernel -> Patch:
Base:
Comment: Navi VBIOS Bug Patch
Count: 1
Enabled: YES
Find: 4154592C526F6D2300
Identifier: com.apple.kext.AMDRadeonX6000Framebuffer
Limit: 0
Mask:
MinKernel:
MaxKernel:
Replace: 414D442C526F6D2300
ReplaceMask:
Skip: 0
# Frozen in the macOS installer after 30 seconds
This is likely due to faulty or outright missing NullCPUPowerManagement, the one hosted on AMD OSX's Vanilla Guide is corrupted. Go yell at Shannee to fix it. To fix the issue, remove NullCPUPowerManagement from Kernel -> Add and EFI/OC/Kexts then enable DummyPowerManagement under Kernel -> Emulate
# 15h/16h CPU reboot after Data & Privacy screen
Follow directions here after UPDATE 2: Fix Data and Privacy reboot (opens new window)
# macOS frozen right before login
This is a common example of screwed up TSC, for most system add CpuTscSync (opens new window)
For Skylake-X, many firmwares including Asus and EVGA won't write to all cores. So we'll need to reset the TSC on cold boot and wake with TSCAdjustReset (opens new window). Compiled version can be found here: TSCAdjustReset.kext (opens new window). Note that you must open up the kext(ShowPackageContents in finder, Contents -> Info.plist) and change the Info.plist -> IOKitPersonalities -> IOPropertyMatch -> IOCPUNumber to the number of CPU threads you have starting from 0(i9 7980xe 18 core would be 35 as it has 36 threads total)
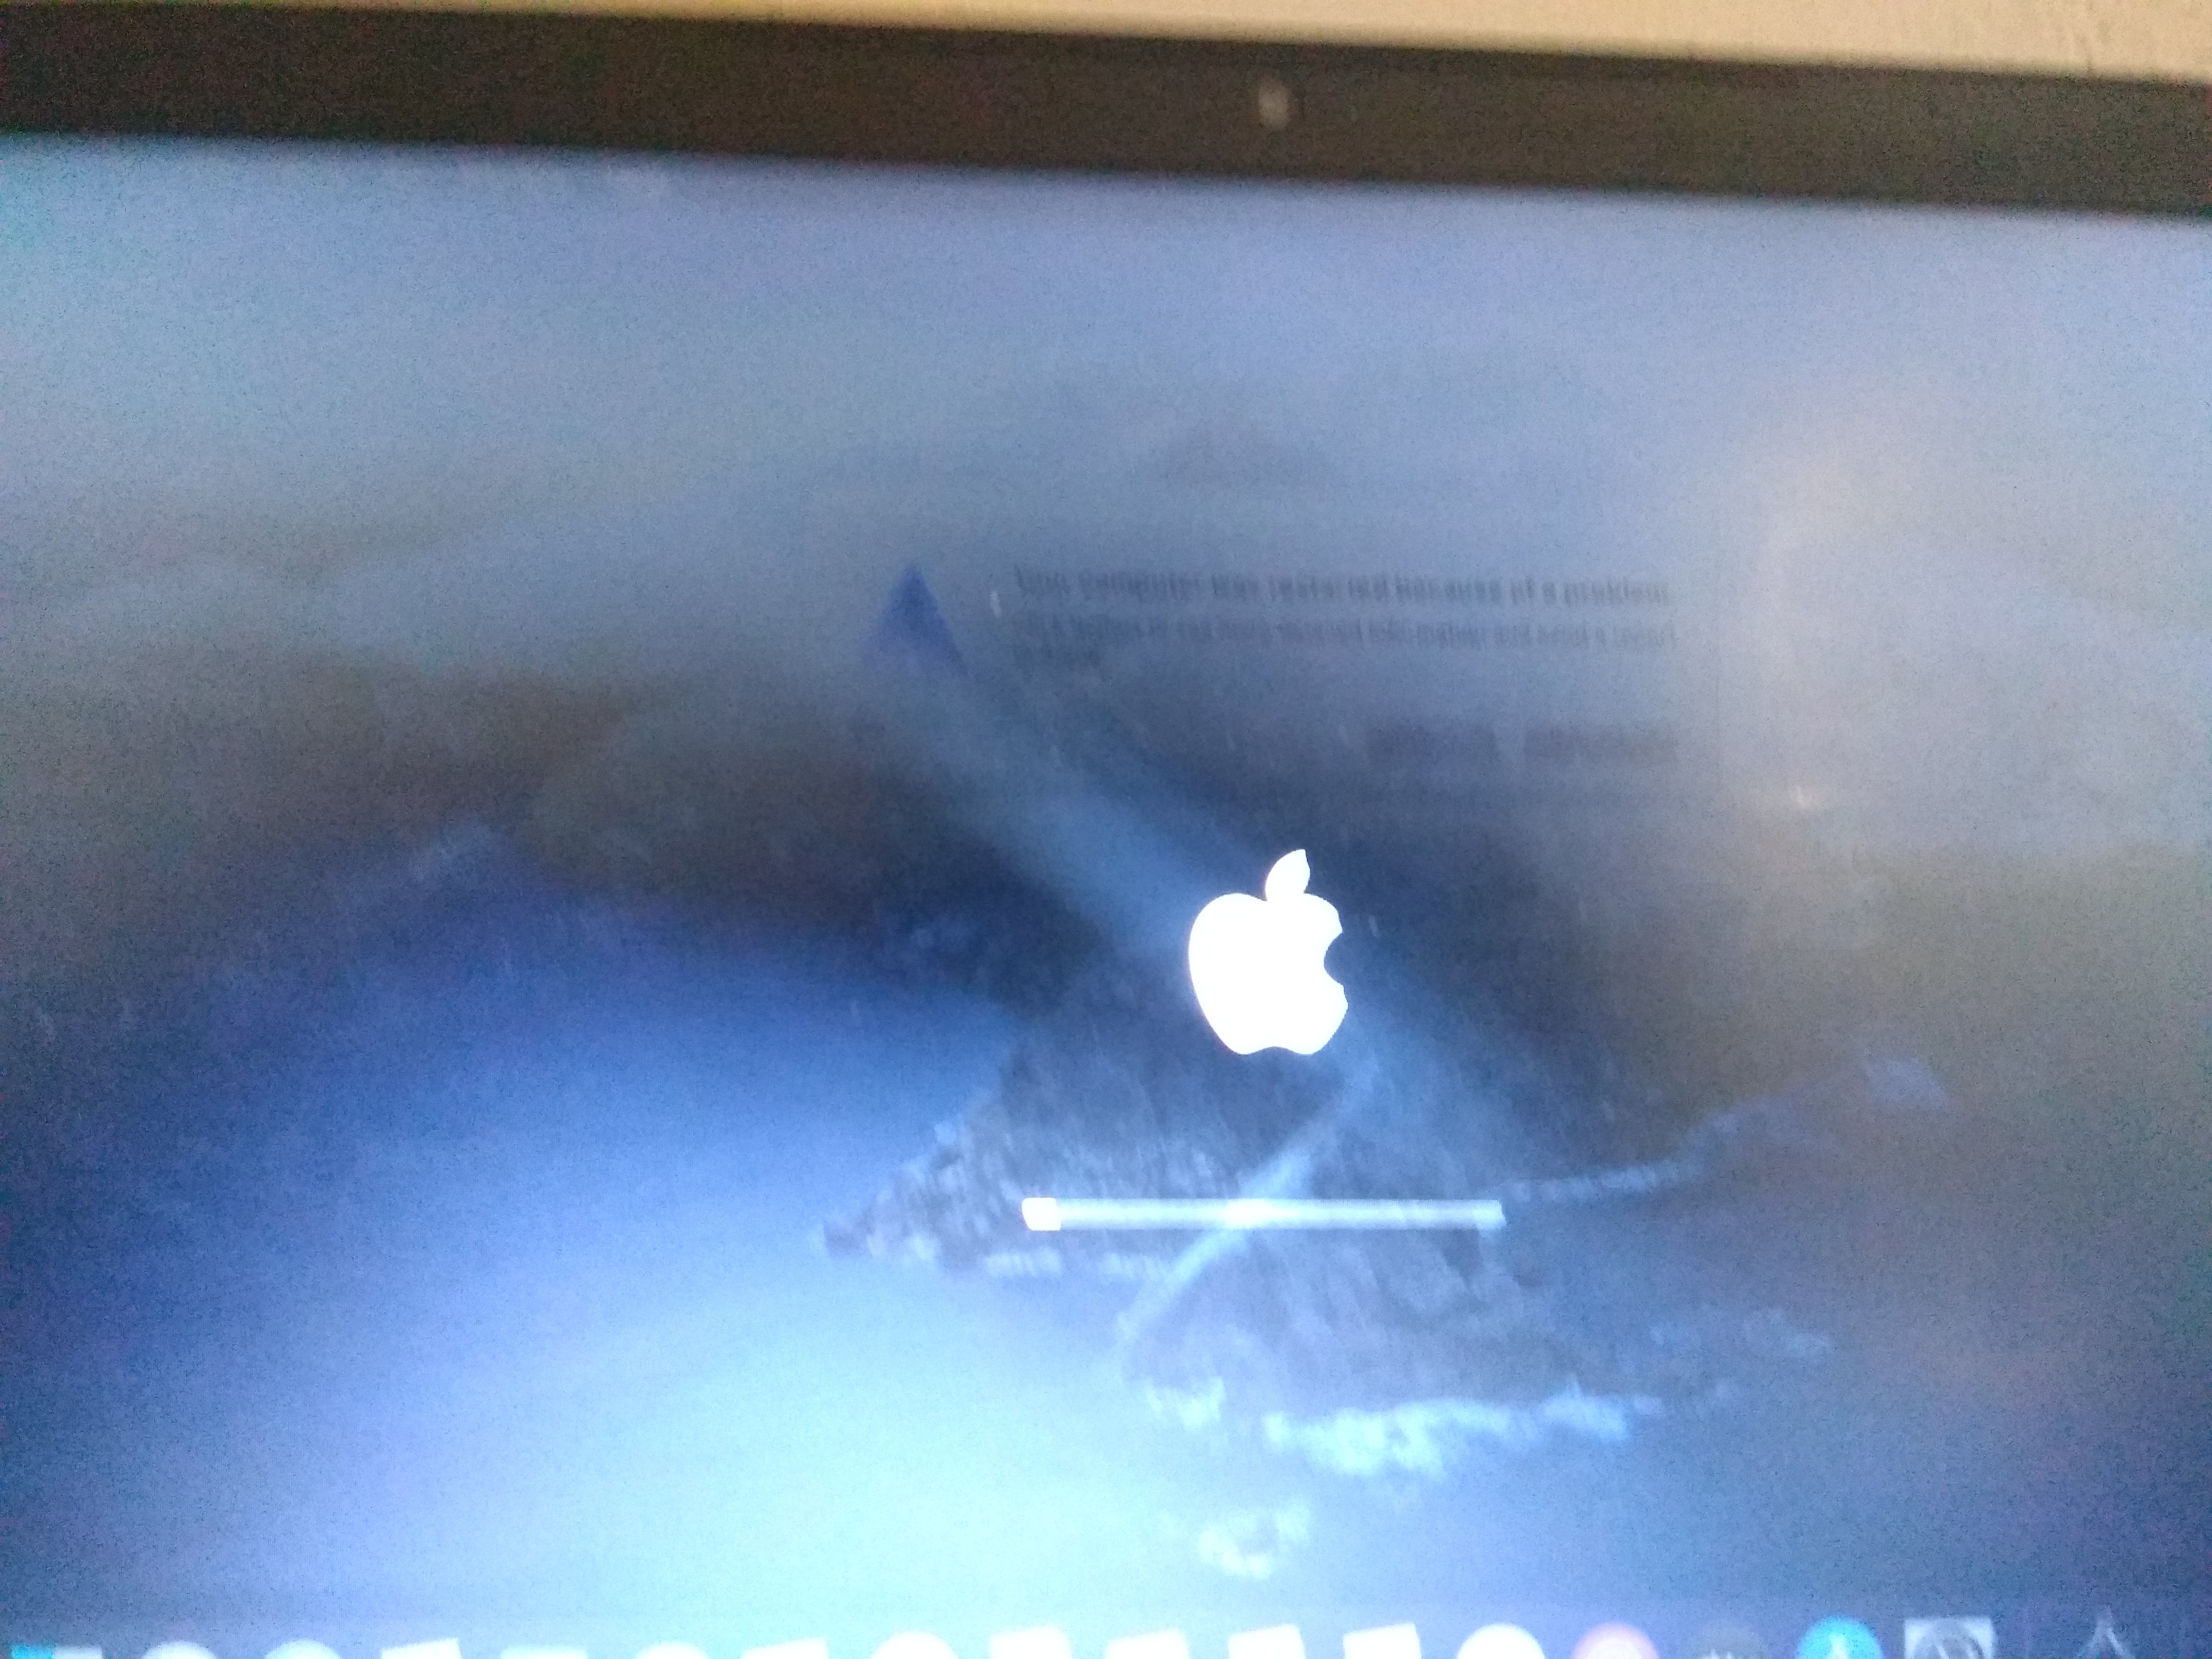
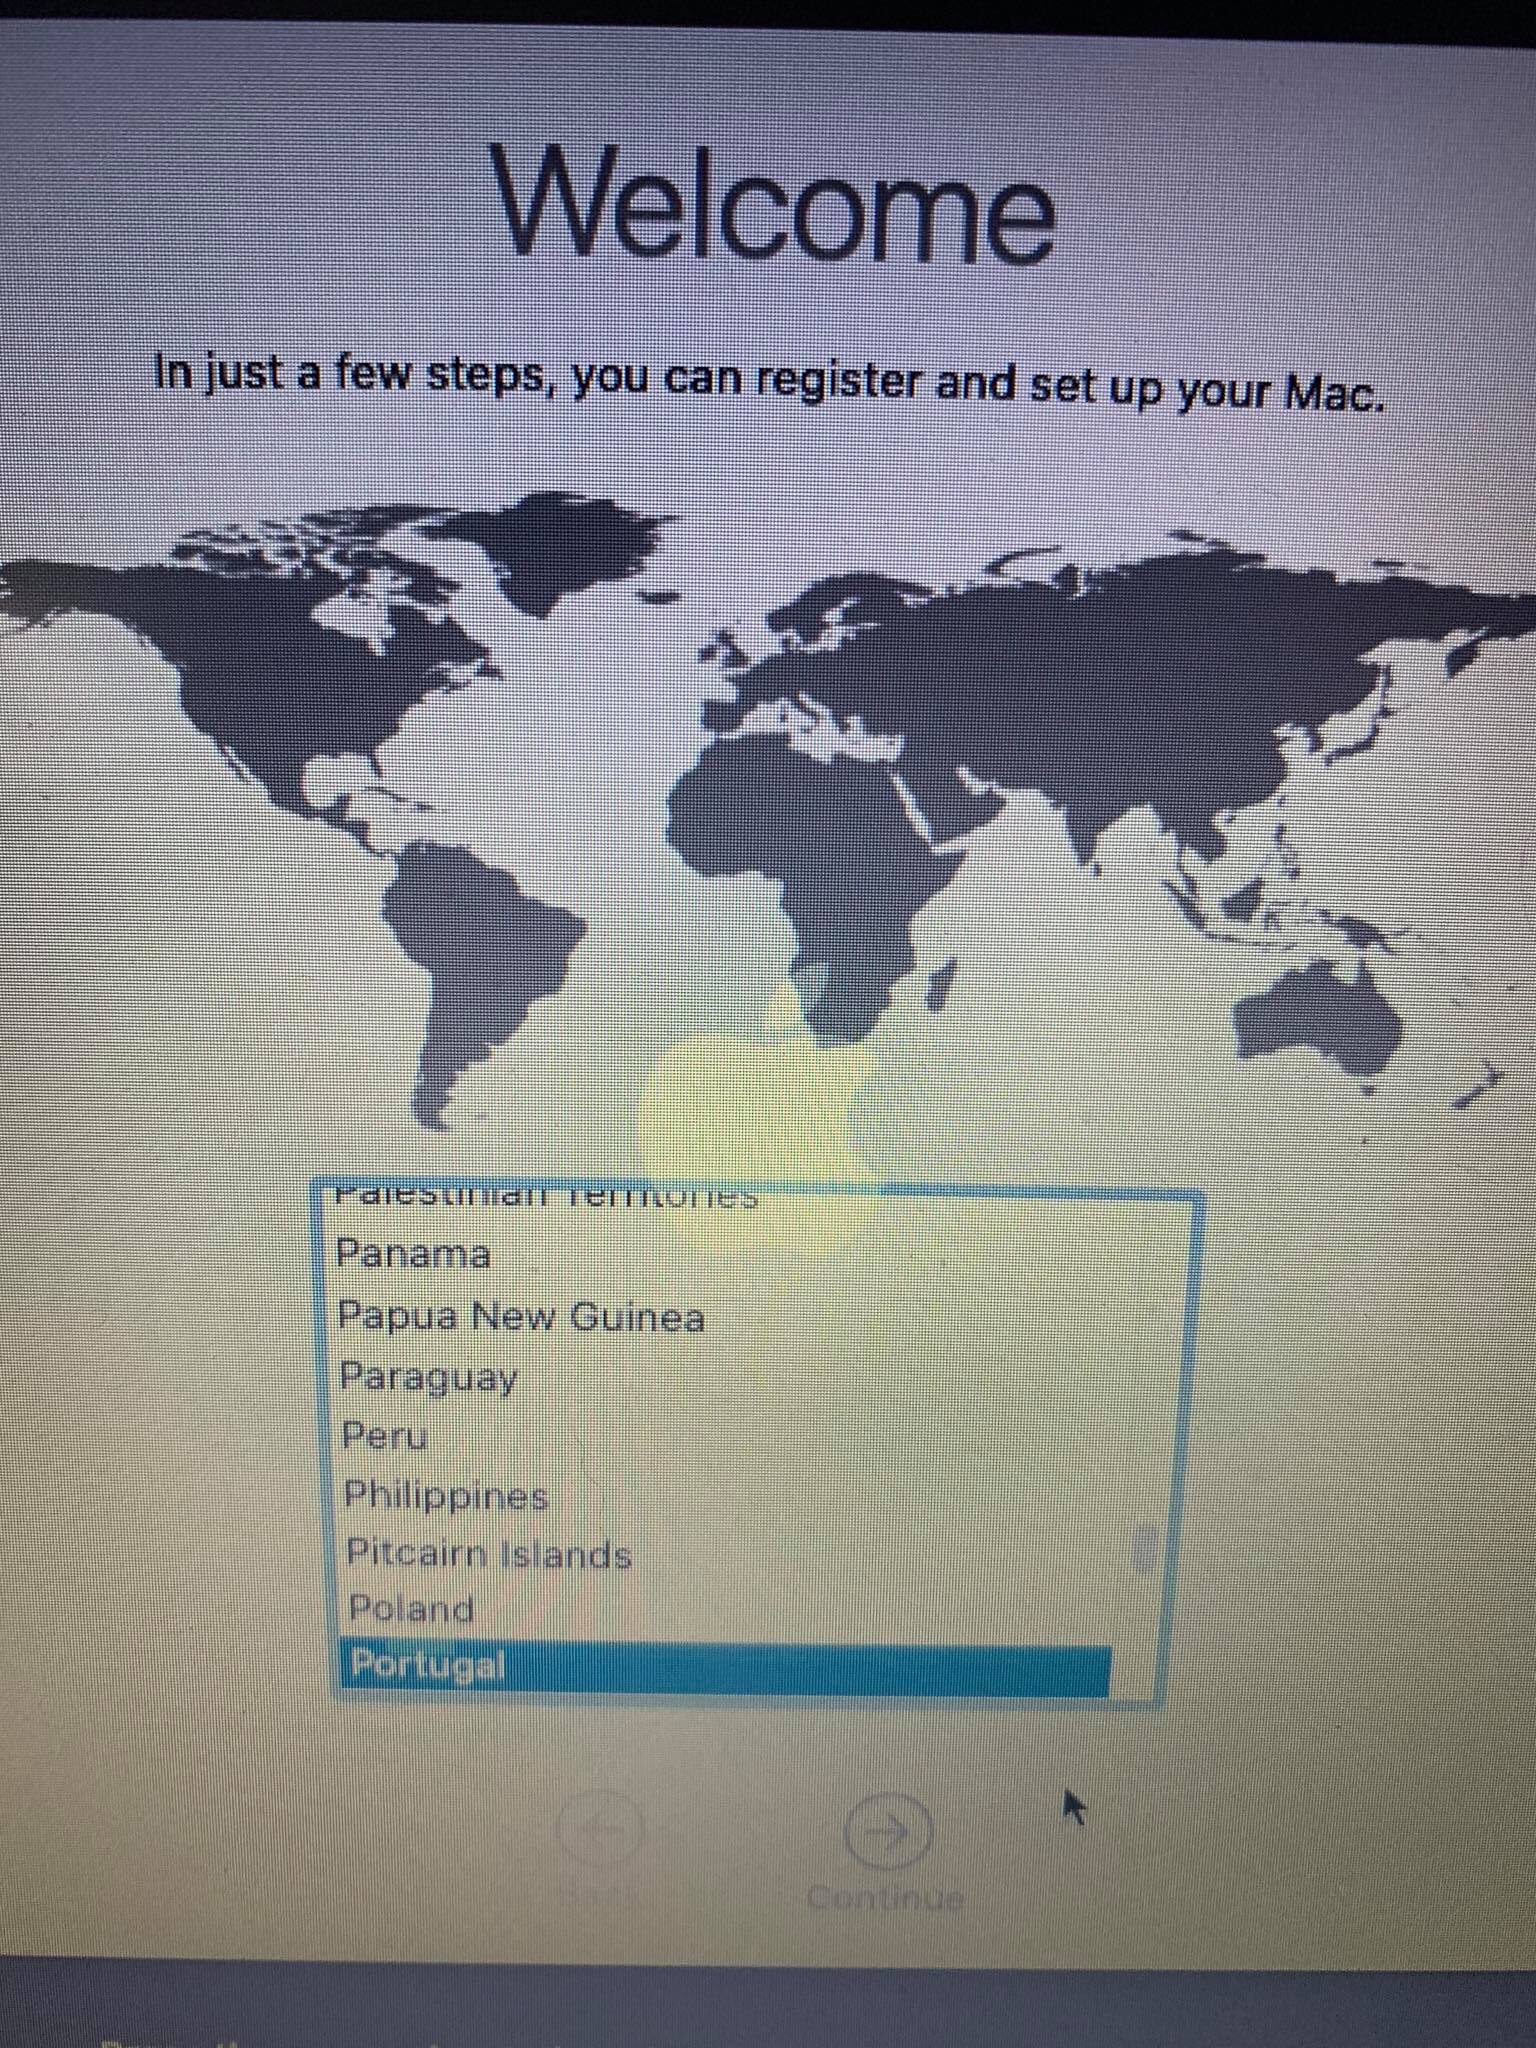
The most common way to see the TSC issue:
| Case 1 | Case 2 |
|---|---|
 |  |
# MediaKit reports not enough space
This error is due to a small EFI, by default Windows will create a 100MB EFI whereas macOS will expect 200MB. To get around this you have 2 way to go:
- Expand the EFI of the drive to 200MB(See Google on how)
- Format the entire drive instead of just the partition
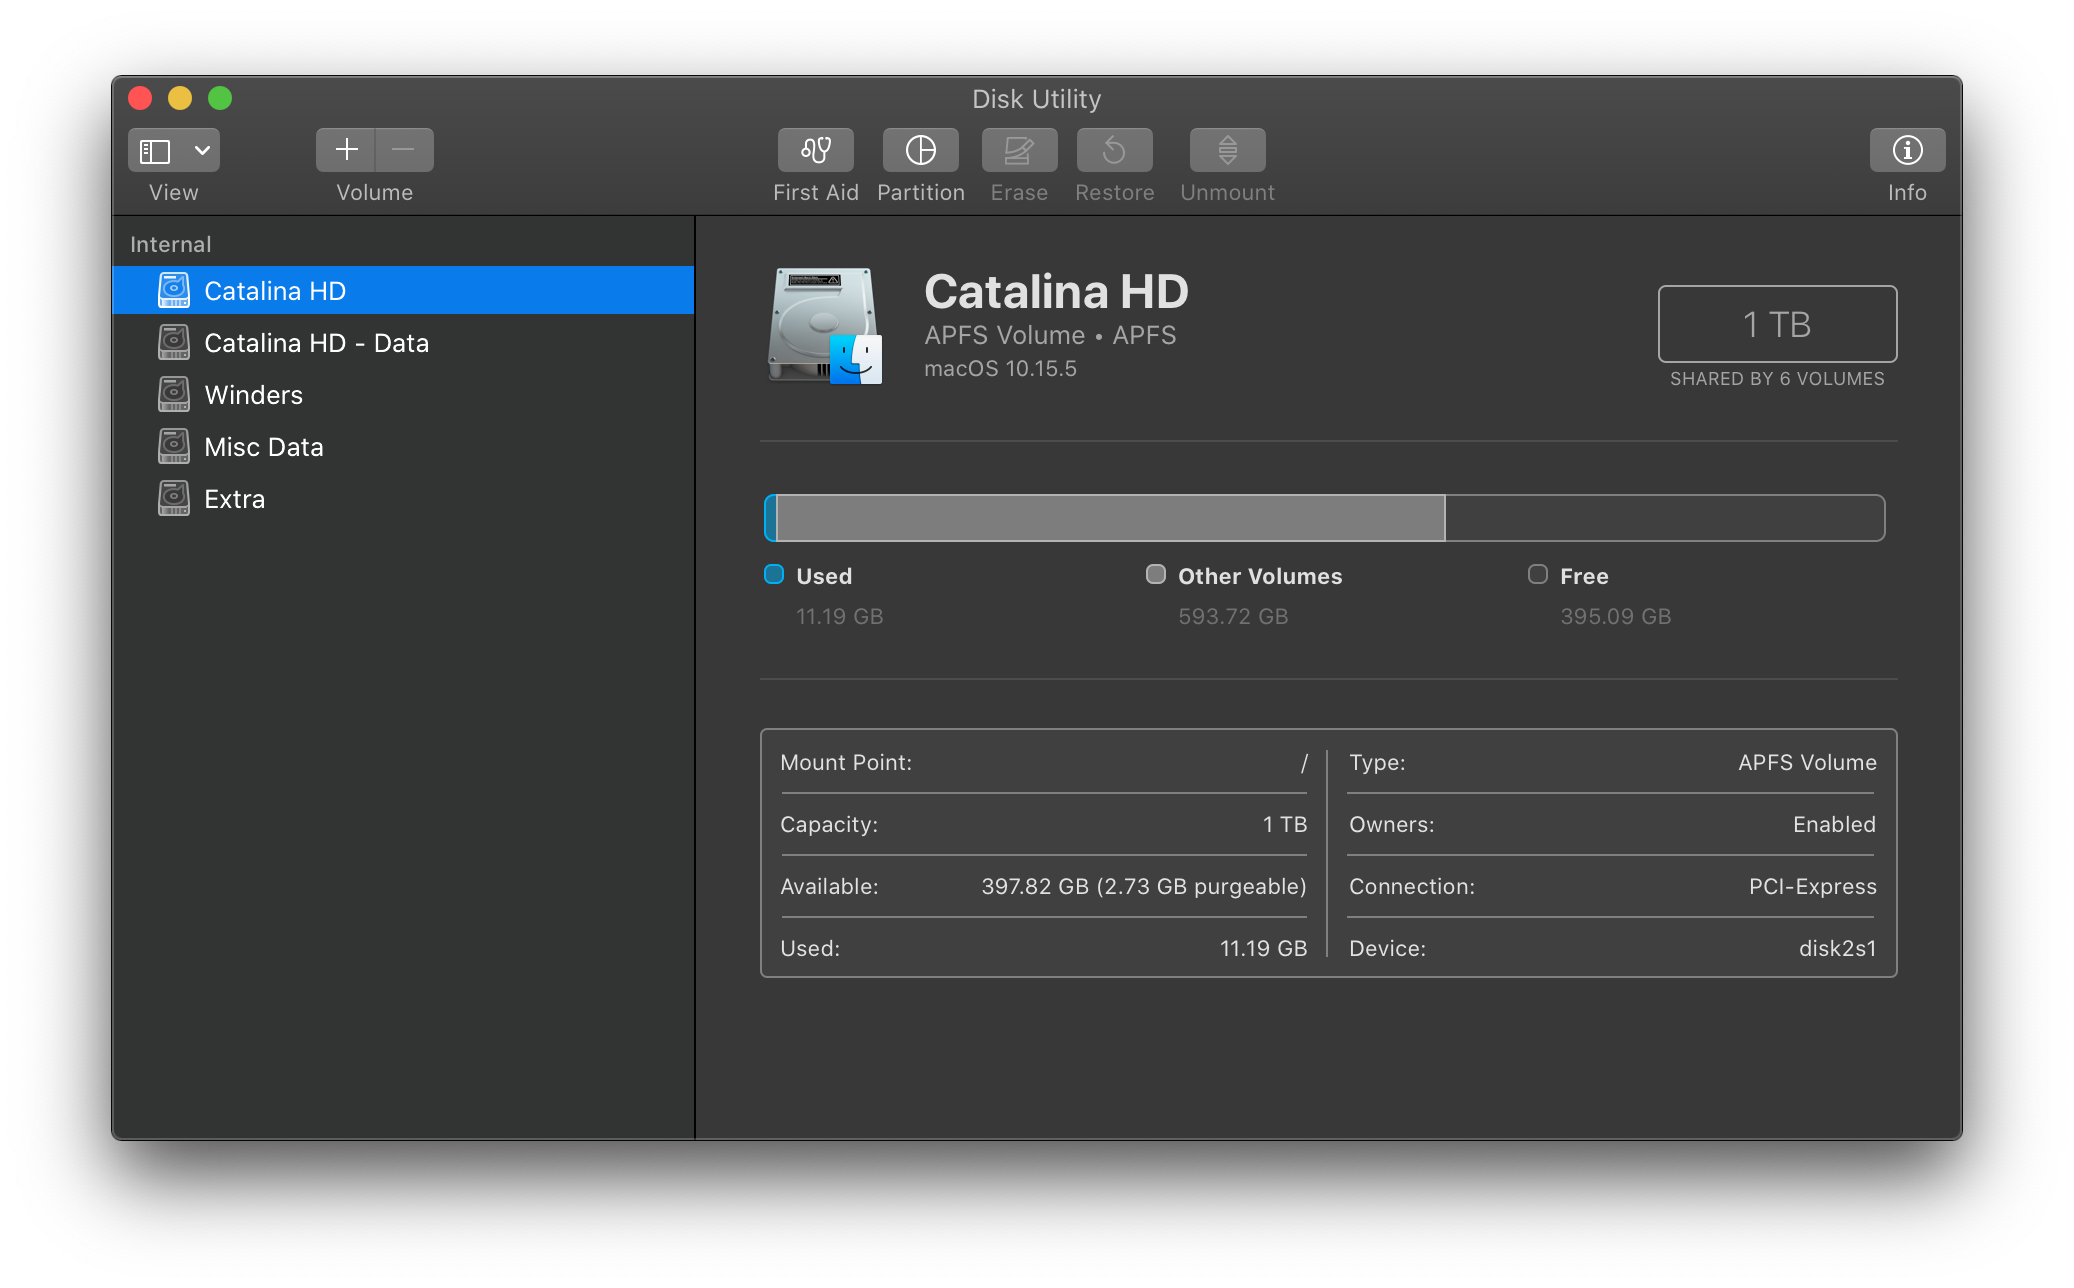
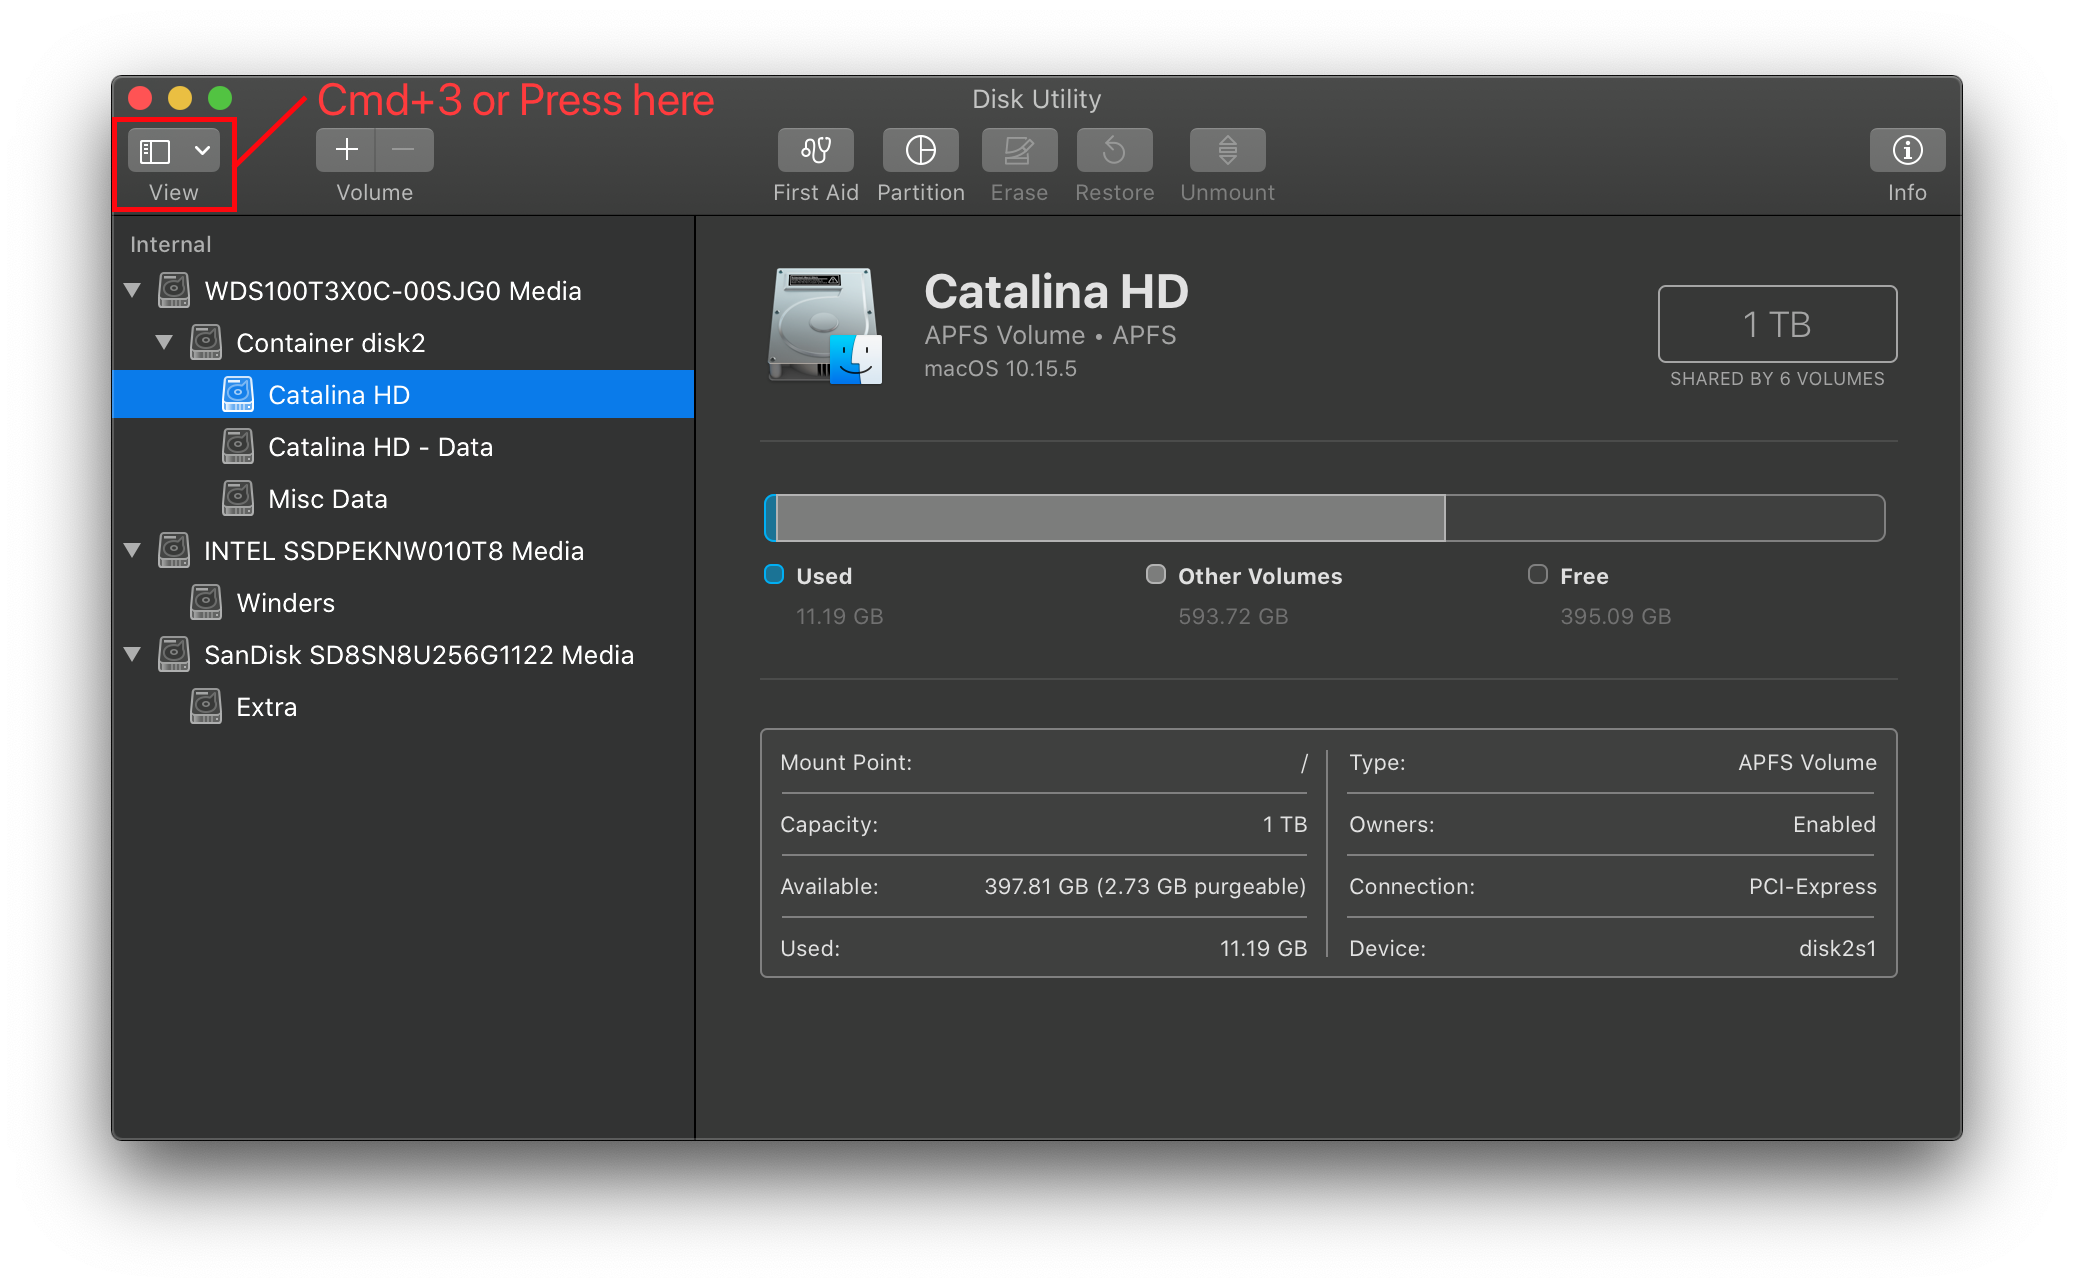
- Note by default Disk Utility only shows partitions, press Cmd/Win+2 to show all devices(Alternatively you can press the view button)
| Default | Show All Devices(Cmd+2) |
|---|---|
 |  |
# DiskUtility failing to erase
This is either 1(or more) of 5 issues:
- Formatting partition and not the drive, see MediaKit reports not enough space
- DiskUtility has an odd bug where it will fail on first erase, try erasing again
- SATA Hot-plug support in the BIOS is causing issues(try disabling this option)
- Old firmware, make sure the drive is on the latest firmware
- And finally, you may just have a bad drive
# SATA Drives Not Shown in DiskUtility
- Make sure SATA Mode is AHCI in bios
- Certain SATA controllers may not be officially supported by macOS, for these cases you'll want to grab CtlnaAHCIPort.kext (opens new window)
- For very legacy SATA controllers, AHCIPortInjector.kext (opens new window) may be more suitable.
# Stuck at 2 minutes remaining
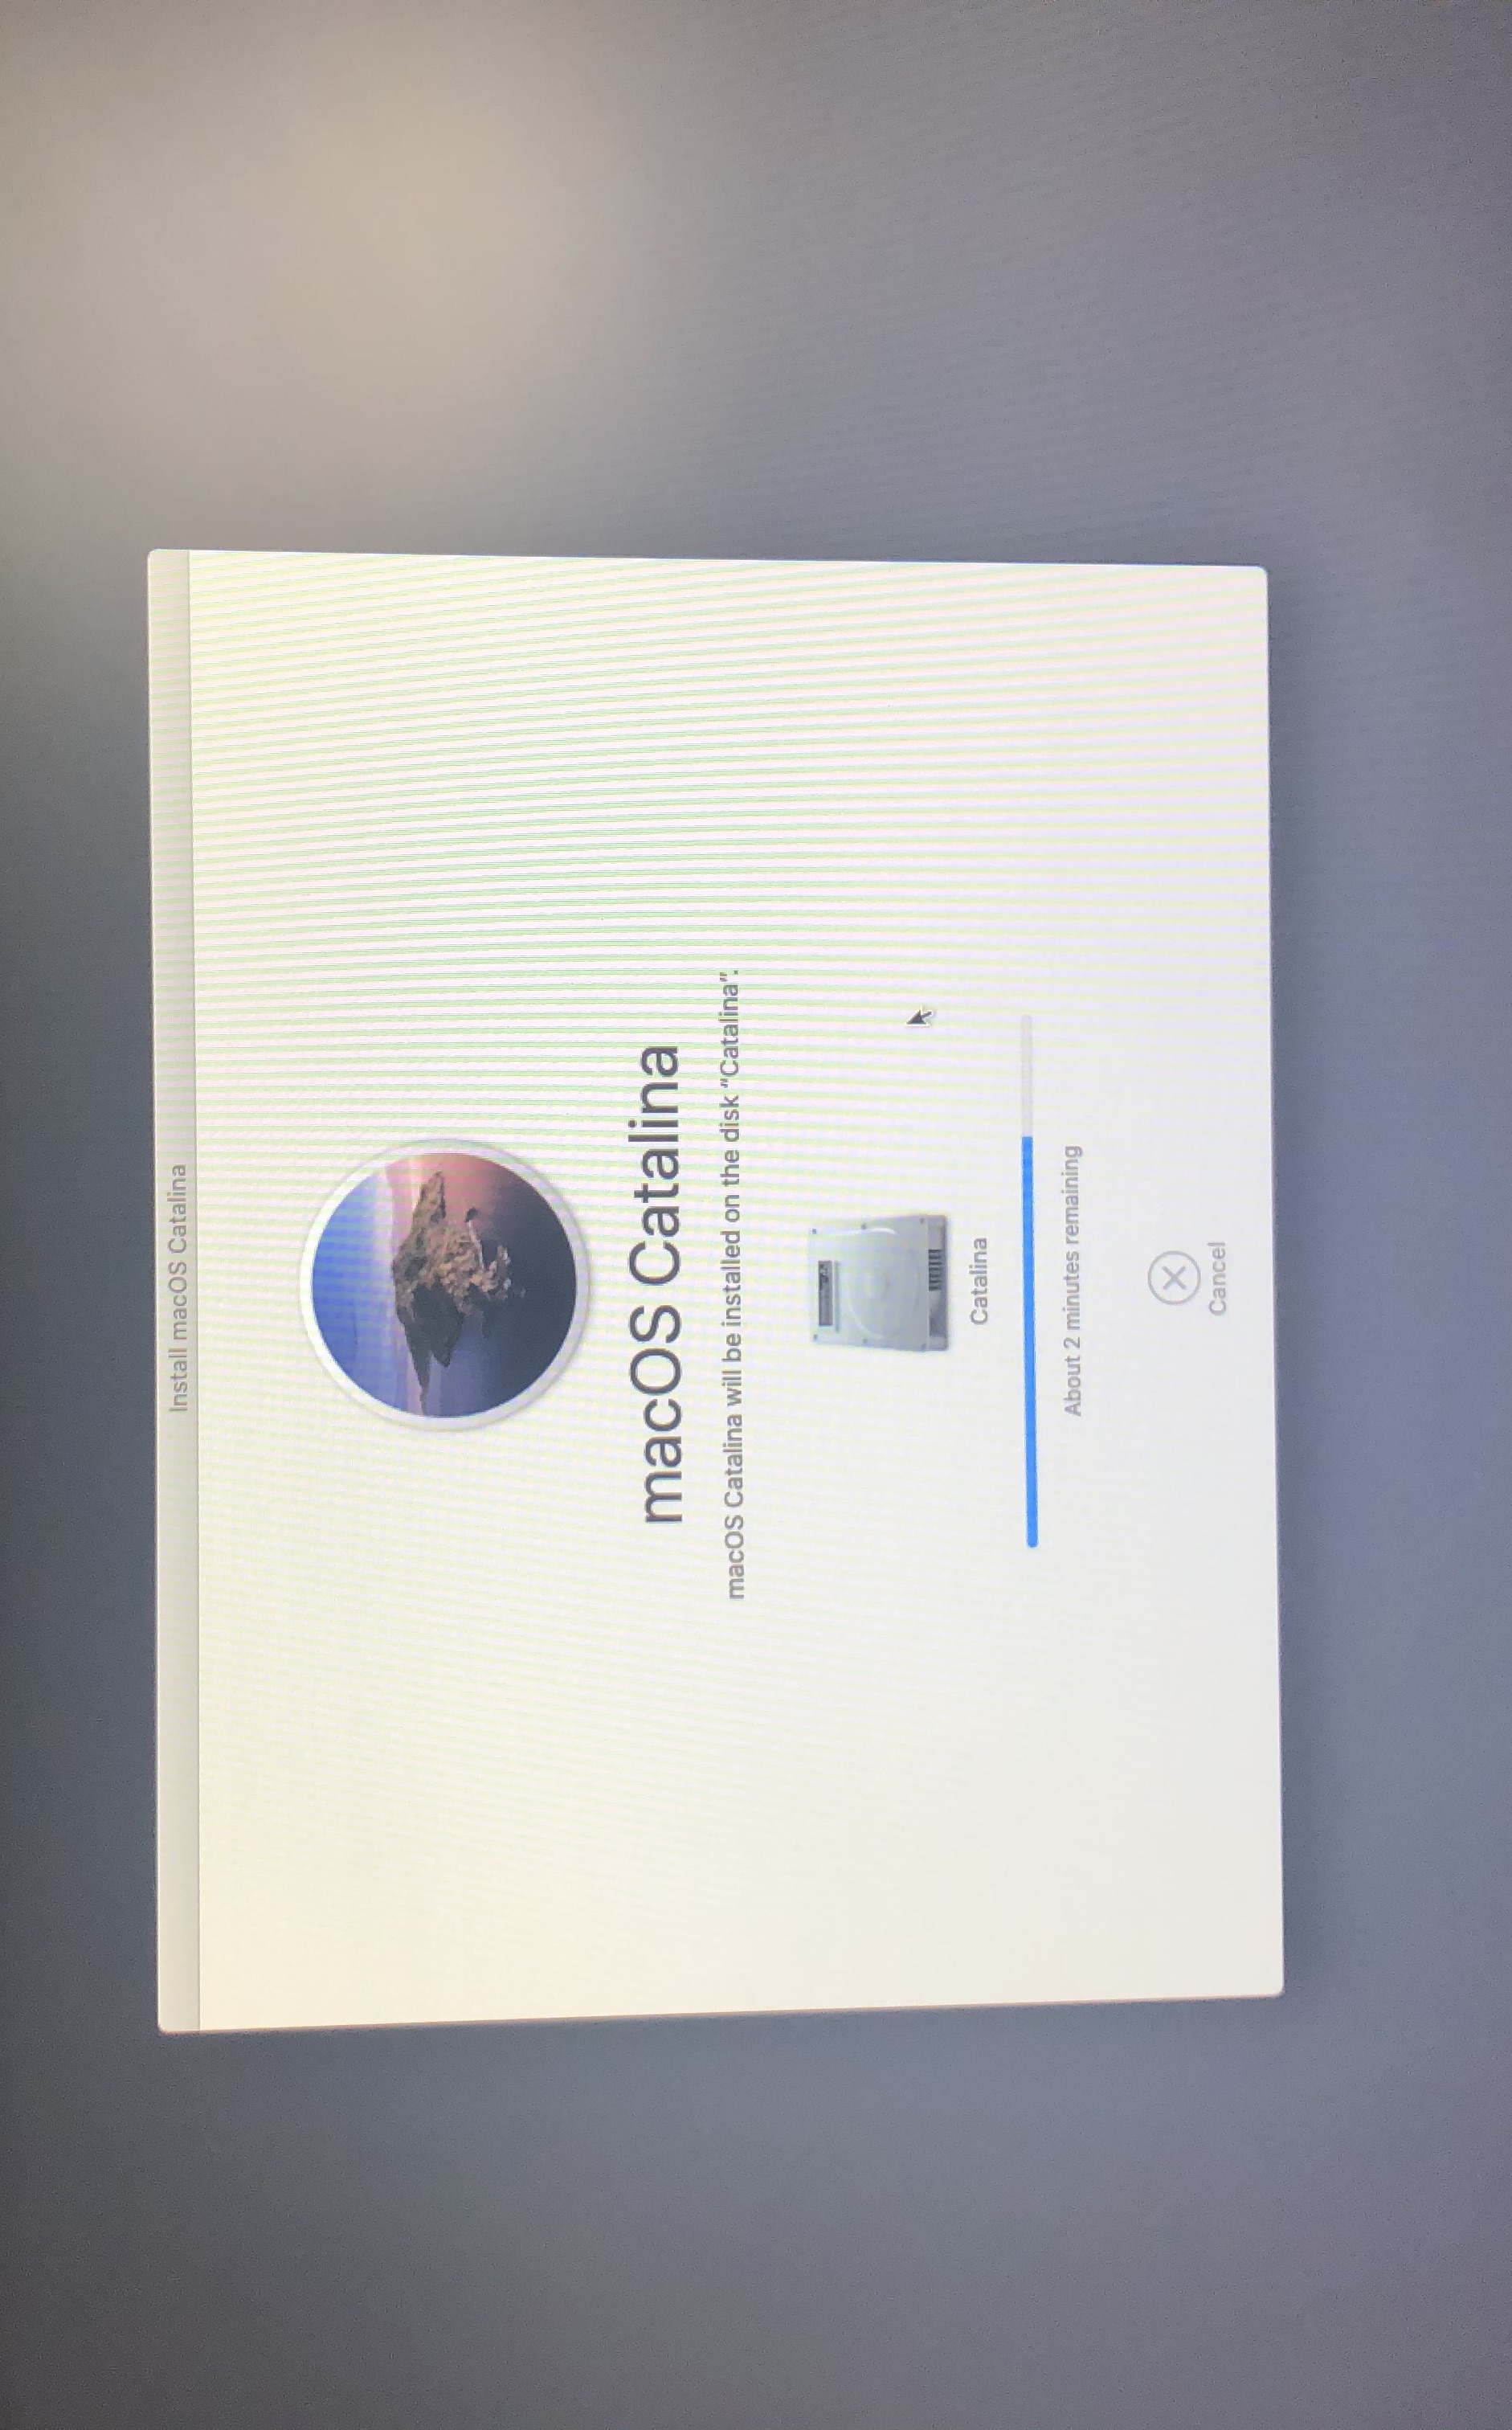
This error is directly related to the stage at which macOS will write certain NVRAM variables for your system to boot next, and so when there's issues revolving around NVRAM it'll stall here.
To resolve, we have a few options:
- 300 series Intel Fix(ie. Z390):
- Others can set the following in their config.plist:
- LegacyEnable -> YES
- LegacyOverwrite -> YES
- WriteFlash -> YES
# The recovery server cannot get contacted
If you made your installer in Windows or Linux, then this means your USB installer is recovery based. What this means is that only a small portion of the macOS installer is on disk while the rest must be downloaded from Apple servers in the installer. And reason we do not include full installer guides is due to unstable HFS drivers and other utilities that commonly end up with data corruption.
To resolve the error, you have a few options:
- Ensure you have a working Ethernet or WiFi connection
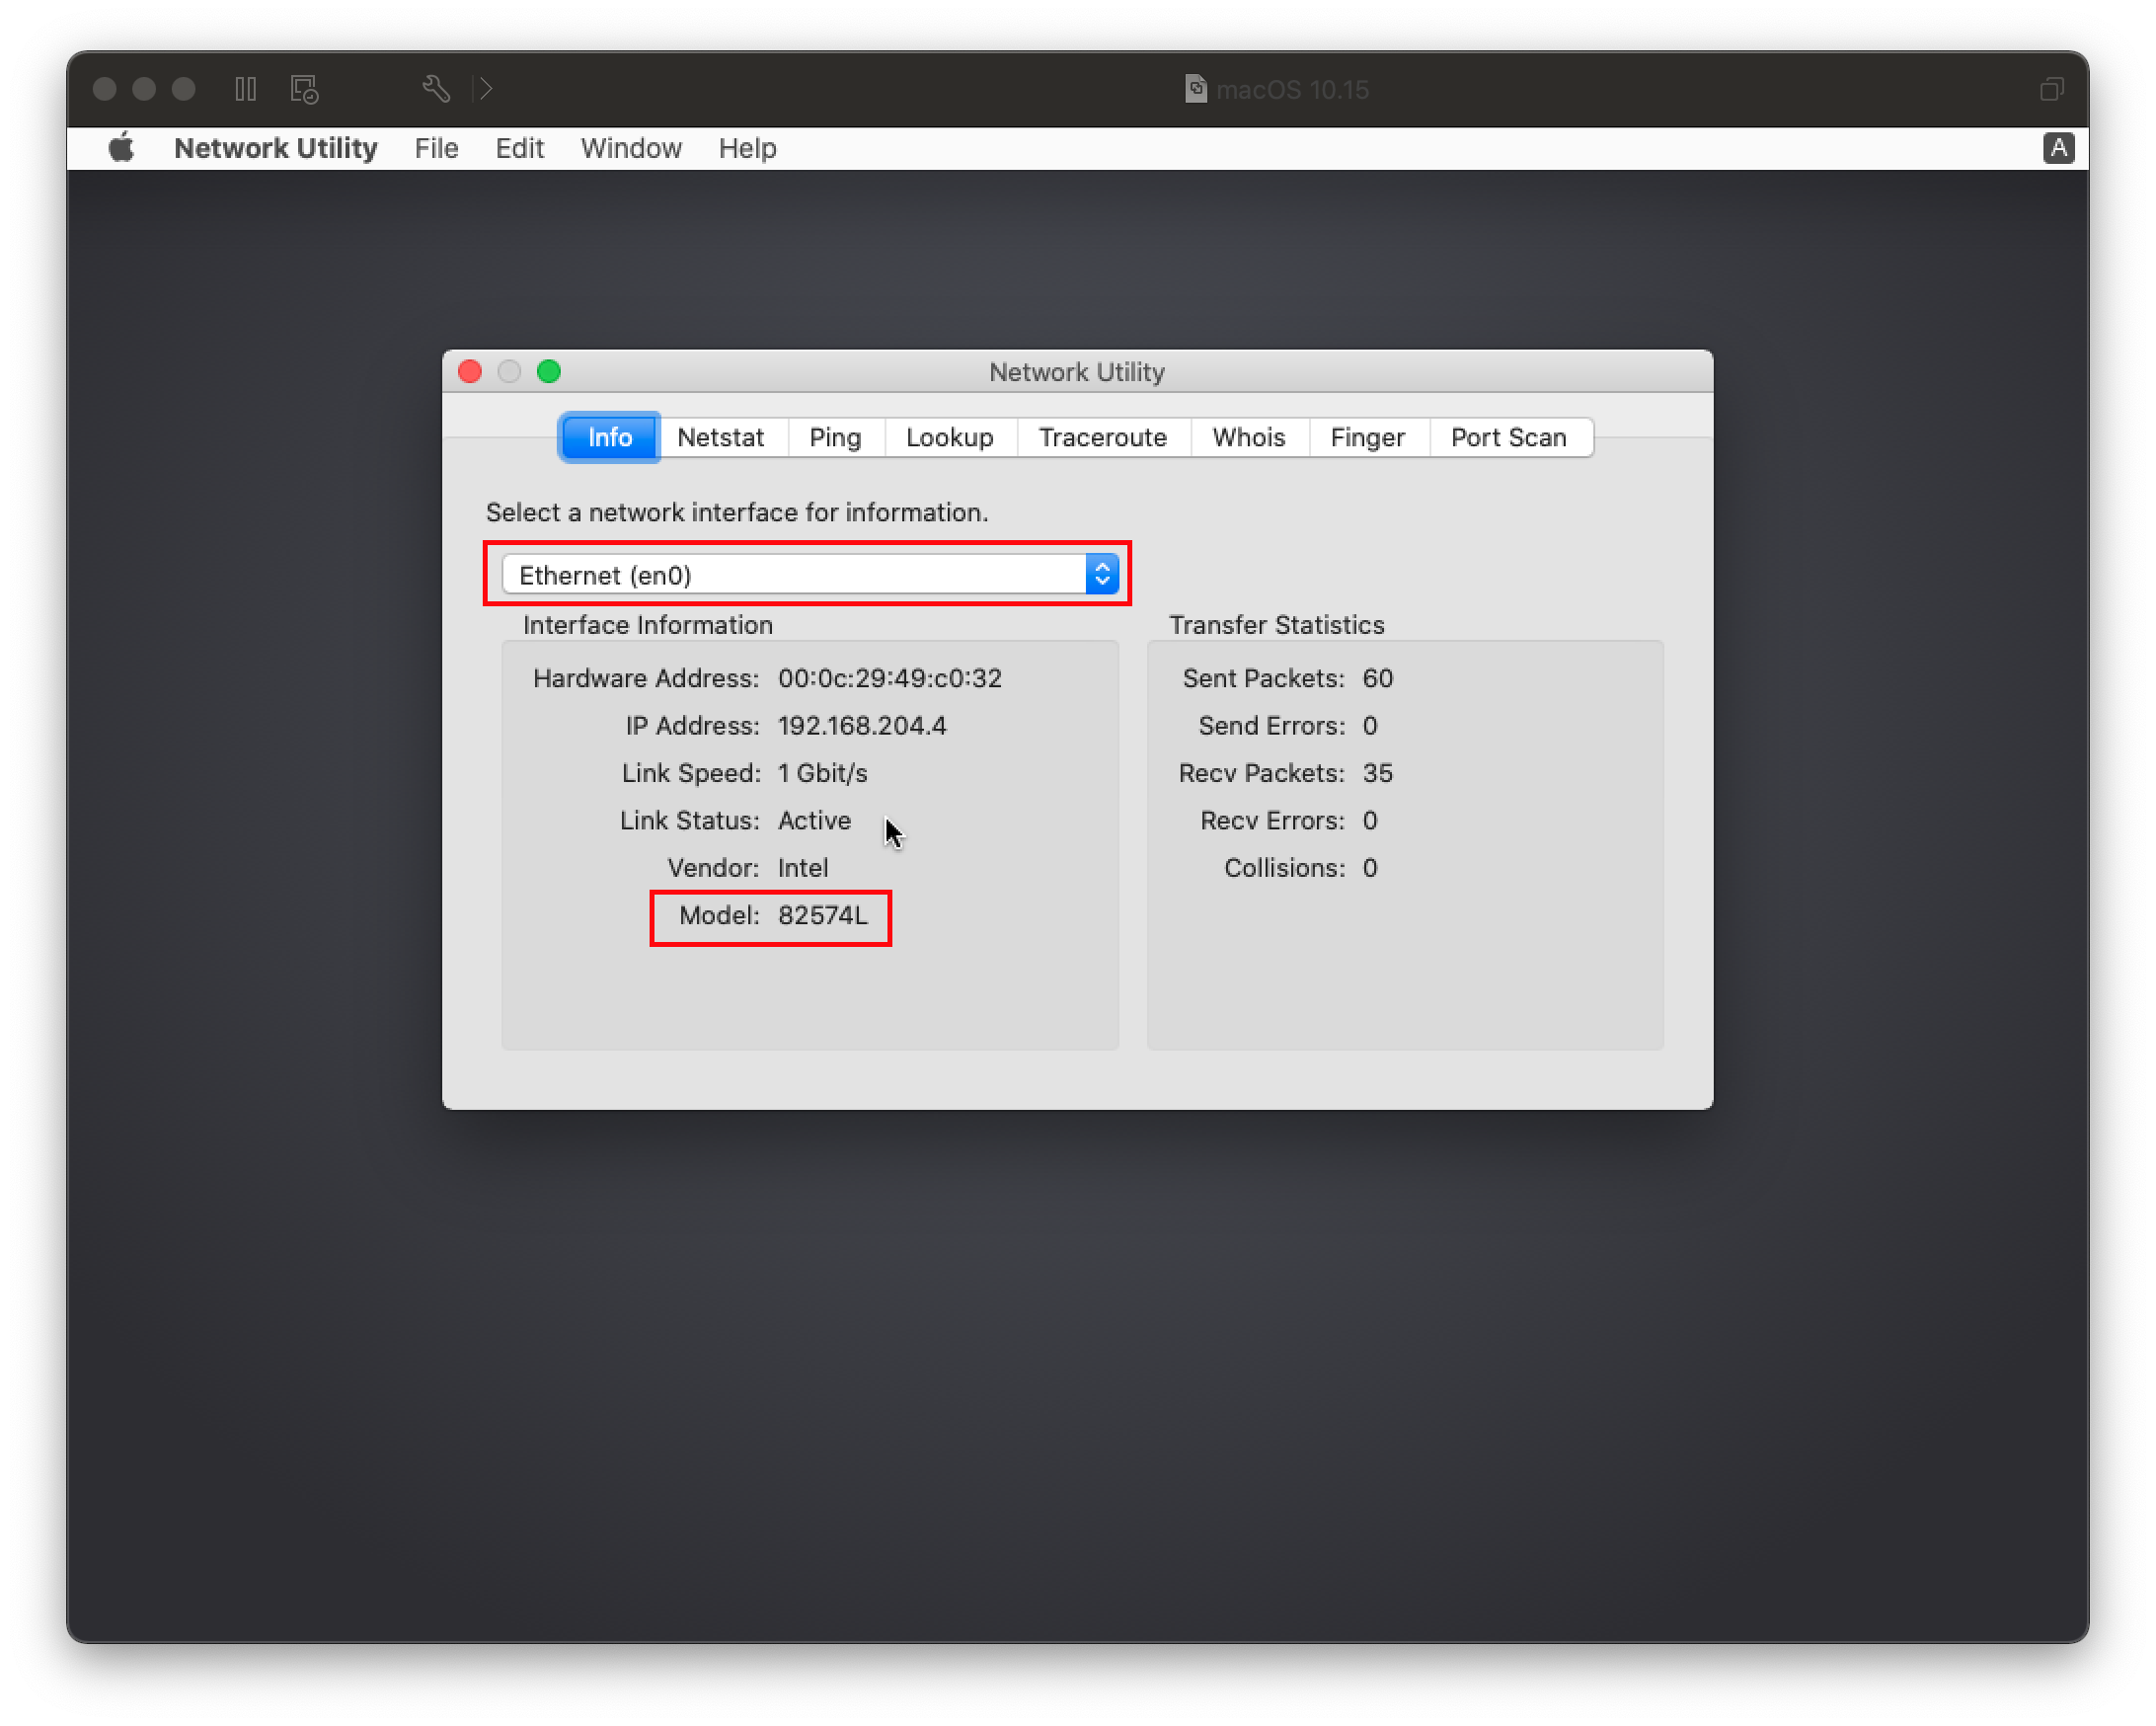
- Open
Network UtilityunderUtiltiesheader in the installer and see if your Network Card shows up- If you network card doesn't show up, it's likely you're missing the right Network kext
- Please refer here: Ethernet Kexts and Finding your hardware
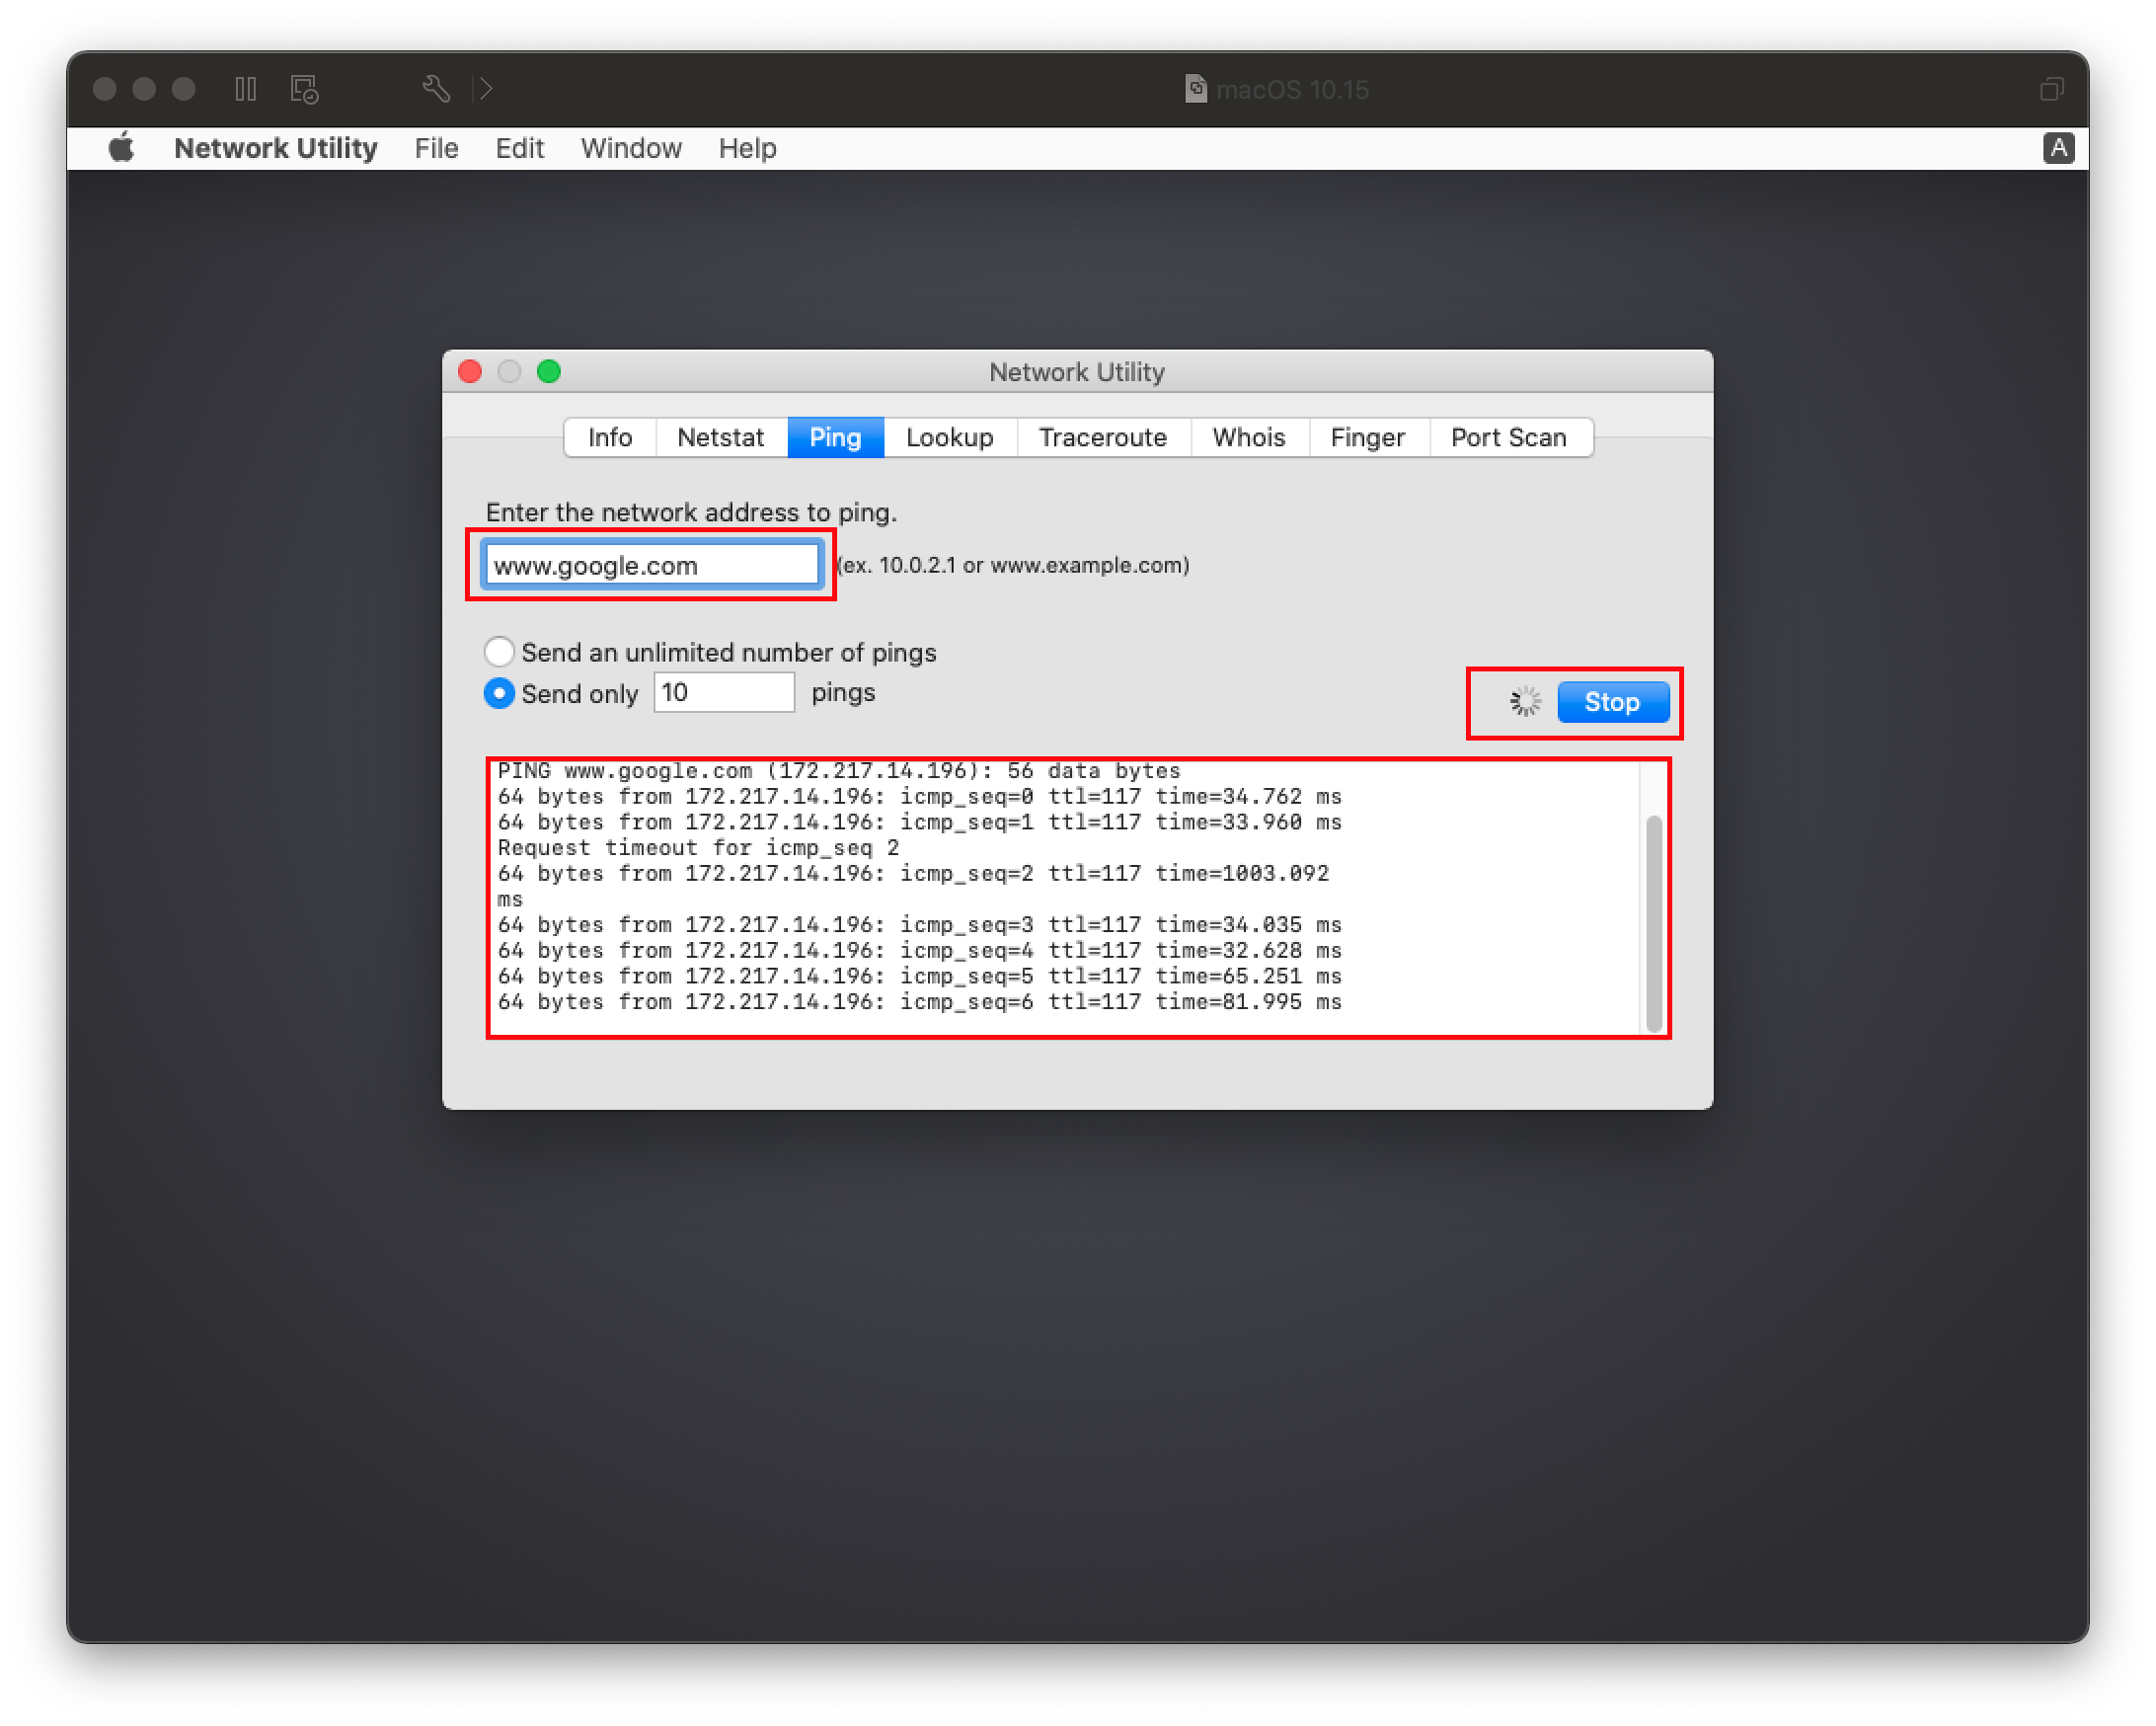
- If the network card does show up, next run
ping -c3 www.google.comin the installer's terminal to ensure your network connection is working- If nothing shows, either your network or kexts are acting up
- We recommend trying older variants of kexts in cases where newer builds have weird bugs with your hardware
- If it does return something, then the issue is on Apple's end. You'll simply need to try to install again another time unfortunately
- If nothing shows, either your network or kexts are acting up
- If you network card doesn't show up, it's likely you're missing the right Network kext
- Open
| Check NIC | Ping |
|---|---|
 |  |
# Keyboard and Mouse broken in Big Sur
For certain legacy systems(ie. Core2 Duo/2010 and older), you may notice that while the USB ports work your HID-based devices such as the keyboard and mouse may be broken. To resolve this, add the following patch:
IOHIDFamily Patch
config.plist -> Kernel -> Patch:
| Key | Type | Value |
|---|---|---|
| Base | String | _isSingleUser |
| Count | Integer | 1 |
| Enabled | Boolean | True |
| Find | Data | |
| Identifier | String | com.apple.iokit.IOHIDFamily |
| Limit | Integer | 0 |
| Mask | Data | |
| MaxKernel | String | |
| MinKernel | String | 20.0.0 |
| Replace | Data | B801000000C3 |
| ReplaceMask | Data | |
| Skip | Integer | 0 |
# Stuck on Your Mac needs a firmware update in order to install to this volume
If you're being prompted to update your firmware to install with an APFS volume, this likely indicates an outdated SMBIOS table. First, verify the following:
- You have
PlatformInfo -> Automaticenabled UpdateSMBIOSModeis set toCreate- Make sure
CustomSMBIOSGuidis disabled - For Dell and VAIO machines, ensure that
CustomSMBIOSGuidis enabled andUpdateSMBIOSModeis set toCustominsteadCustomSMBIOSGuidandUpdateSMBIOSModeshould always be in tandem with each other
- Make sure
- Using a SMBIOS supported in this version of macOS
- ie. you're not using
-no_compat_check
- ie. you're not using
- You're using the latest version of OpenCore
If you still receive this error, then there's likely some outdated SMBIOS info in OpenCore itself. We recommend changing to a similar SMBIOS and see if this is resolved. For a full list of SMBIOS, see here: Choosing the right SMBIOS
